



























Getting Started with Your ViAX 250/300
Getting Started with Your ViAX 250/300

1. Introduction
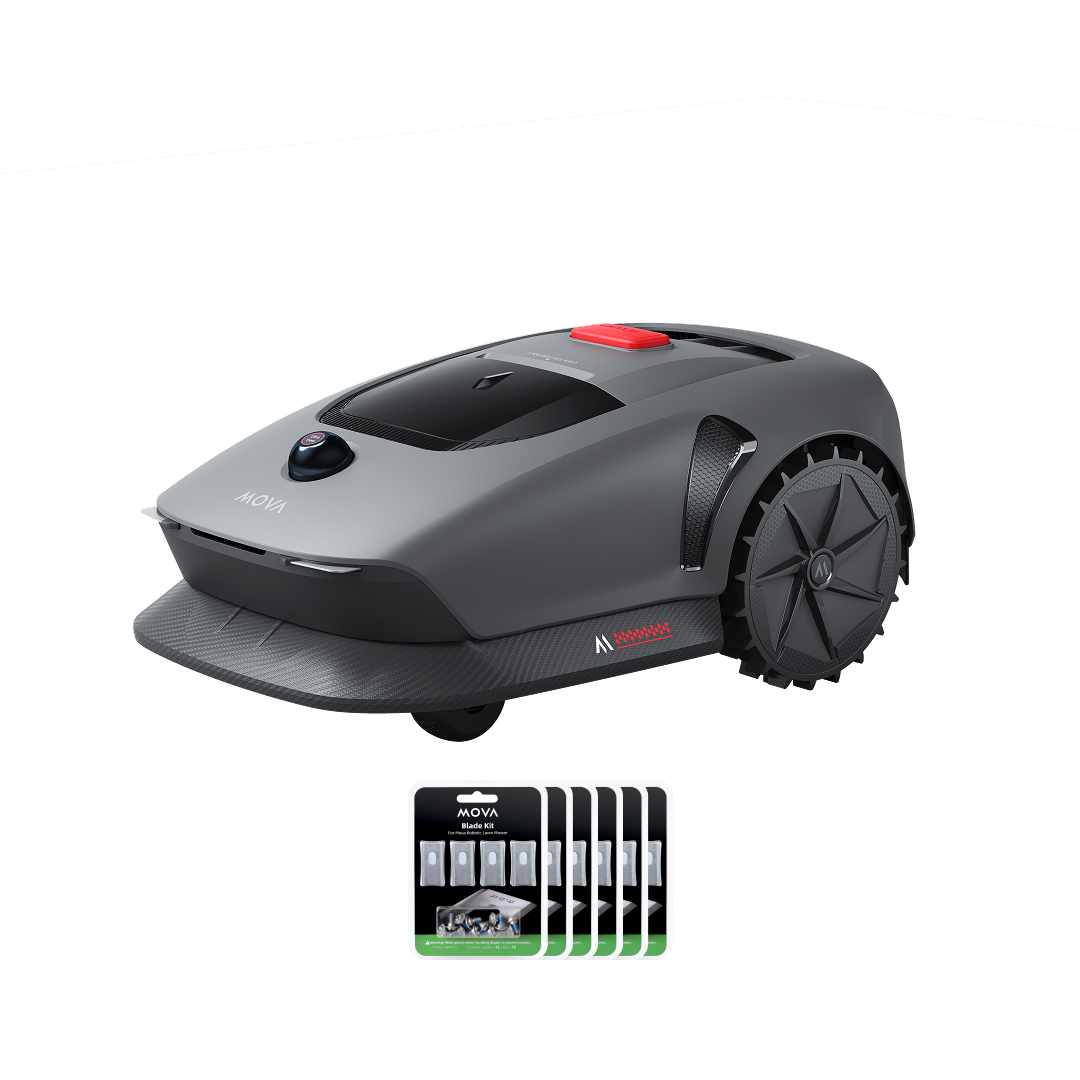
Unbox your MOVA robotic mower to see all components and accessories. This section introduces the product’s core features and explains how to use it.

2. Install the Charging Station
Place the charging station on a flat area near a power outlet. Secure it to the baseplate with the included hex key and screws, then connect the extension cord to the power supply.

3. Preparation for First Use
Prepare for network setup by familiarizing yourself with the control panel, button functions, indicator lights, and the power-on sequence.

4. Connect the Robot to the Internet
Download the MOVAhome App and pair the mower with your phone via Wi-Fi or Bluetooth. You can also manage advanced settings like unbinding and sharing.

5. Map Your Garden
Follow these steps to create a precise garden map, including following safety rules, defining boundaries, and finalizing zone details for better lawn care.

6. Set No-Go Zone
This guide shows how to create no-go zones for the mower by drawing boundaries in the app or with the remote control.

7. Add or Expand Zones
Use advanced multi-zone tools to optimize lawn care. You can add new zones, expand existing ones, or merge and split zones as needed.

8. Set Path
Create paths to connect isolated zones or separate lawns for full access.

9. Add a Second Map
After creating your garden map, if there is no path connecting your front and back gardens, you can create a second map.

10. Basic Mowing Operations
When using the mower for the first time, configure your mowing preferences and learn how to start, pause, stop, and resume mowing. Also, learn how to recharge it properly for safe and effective use.

11. Explore More with the MOVAhome App
This section helps you explore all the functions of the MOVAhome App, including customizing mowing modes, scheduling tasks, activating child lock, and updating firmware.

12. Clean Your Robot
Keep your mower performing at its best by following a structured cleaning process, including editing maintenance checkpoints, turning off the device safely, and cleaning thoroughly.

13. Replace the Blades
Check the wear on the mower’s cleaning brush and blades. Then, turn the mower over, remove the old parts, and install new cleaning brush and blades.

14. Install the Link Module (Optional)
If you want to enhance connectivity, this section guides you through installing the Link Module and checking it’s securely attached and working properly.

15. Battery & Winter Storage
Protect your mower for long-term use by taking care of the battery, following winter storage rules, and handling it properly during transport.